How to check the metal detector got to you as not new any more. It’s simple, start with a coil.
A metal detector can be conditionally divided into 3 components: shaft, electronics and search coil. You almost always see the total cost of the metal detector in assembly. But if you try to buy them separately, any of the components turns out to be rather expensive. For example, a coil may cost half of an inexpensive detector (and even more).
Search coil
You should start to check a pre-owned metal detector with a search coil. Look at the work surface. Even if the metal detector has been used only once, there will be traces (scratches, scuff marks) left on the surface of the coil (or its cover). By these traces on the coil surface you can estimate the load level been provided while hunting. But the scratches themselves don’t affect anything, it’s ok. You will be adding them yourself with every going out.
It’s important that the coil have no chips (fractures). A rather deep fracture leads to coil depressurization. If moisture gets inside the coil, false signals appear.
One more thing: if there is a fracture, then the coil has been bumped on the ground (rock, tree). The internal parts of the coil are well fixed and assume such a load, but well, there is a limit. If the bump is serious, operation of the coil can be disturbed. In this case any vibration (light knocking on the coil) will cause false responses.
Pay attention to the place of attaching the coil to the metal detector lower shaft. Broken ‘ears’ are almost always the purchase of a new coil. The repair of the ears is difficult and doesn’t go a long way. Most often, they either break because of a side impact or crack from the temperature fall. There are metal detector models with ears as a trouble spot, for example, the standard Minelab X-Terra coils.
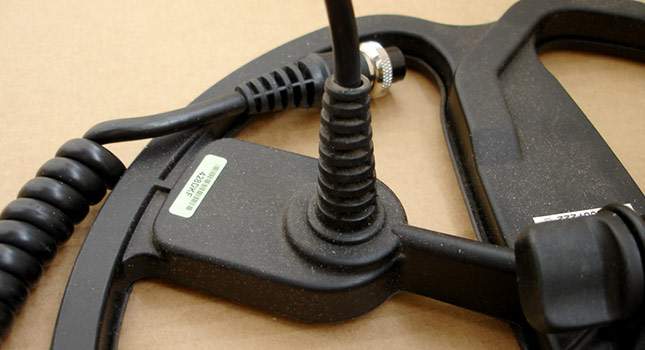
Next, check the coil cable. Pay great attention to a cable strain relief, problems often start from this place. It must be intact and structurally sound. Any ingress of moisture causes false responses. Loose cable connection to the metal detector control box also causes false responses.
It’s desirable that the rubber washers remain at the place of the coil attachment. While searching the coil angle to the shaft is changing. At that, the coil must simultaneously make it possible to change this angle easily and not hang loosely. For this purpose the rubber washers are required. If they are absent, you start to tighten up a plastic bolt (the coil is attached with) and you will break it eventually.
Electronics check
Electronics is the most expensive component of the metal detector. And if the search coils are changed easily, as well as sold everywhere, it is difficult to find and buy electronics parts separately.
Most problems with the metal detector electronics arise from ingress of moisture inside the control box. Another common problem is a damaged screen.
The screen must be unhurt, without cracks and dimples. Tips for the beginners: screen damage very often happens during transportation of the metal detector.
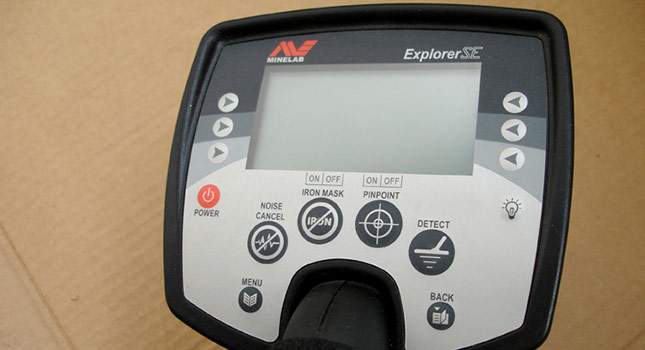
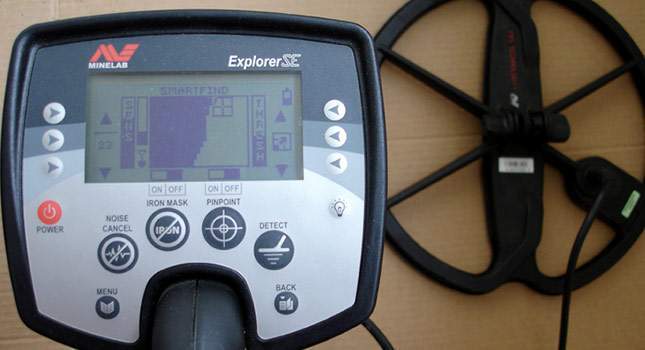
When you switch on the metal detector, the screen must be uniform and without artifacts. For example, ingress of moisture inside the control box leads to visible spots on the screen. Moisture inside the control box may cause incorrect (or partial) presentation of information on your metal detector display.
Check operation of buttons. Simply press one and all buttons, you must make sure the metal detector responds to pressing.
Discrimination. Important point: there are times when the metal detector looks quite operating, but having examined it carefully you find non-operating discrimination modes (mask search modes). It is easy to check, for this purpose you should have 2 or 3 objects made of different metals. The best thing is if these are iron, copper and silver (if you are a beginner, gold isn’t suitable; this metal is close to oxygenated iron).
First switch the metal detector to all-metal mode and bring your test targets by turn under the coil. All responses must be different and correspond to specification of the detector examined. For example, for the Garrett ACE 250 an iron object is the first (on the left) 1-2 graphical segments and a low-pitched tone. A copper object is the last (on the right) 1-3 graphical segments and a high-pitched tone of audio response.
Further you choose any mask search mode eliminating the response to the iron finds. Bring by turn your test targets. Iron must be silent.
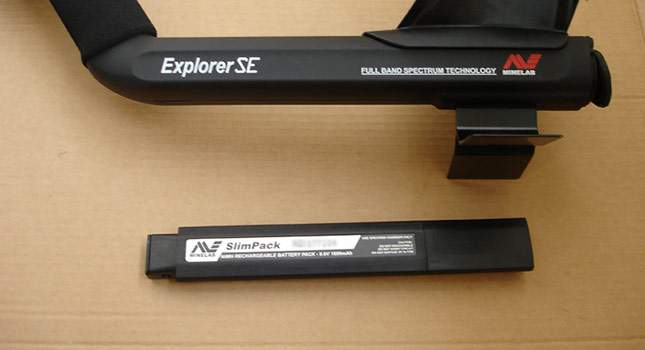
While checking electronics don’t miss the battery compartment. It must be intact and without leaks.
Shaft
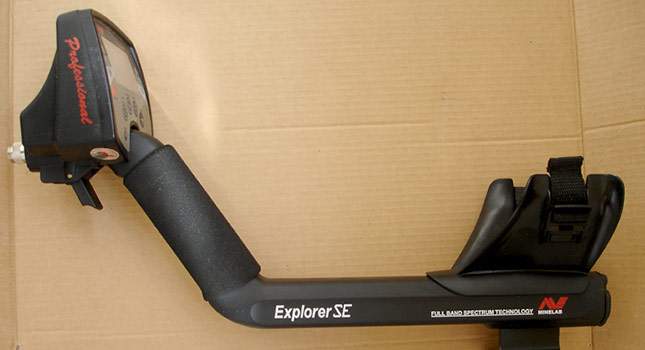
When checking a shaft you should start with an armrest, as it most commonly breaks down. If the armrest is broken or simply glued, at the first going out it will breaks again, but then it will be your problem.
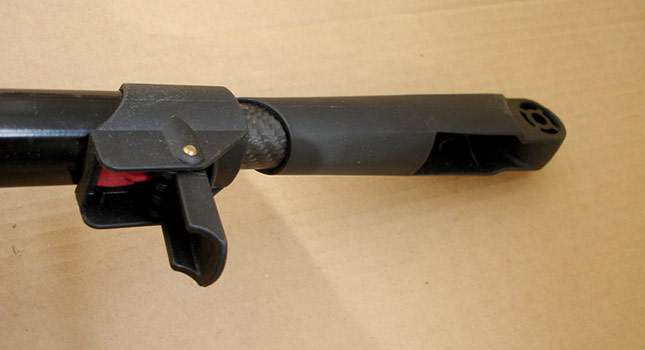
If the metal detector is provided with the collet closing mechanisms (additional fixtures preventing connection between two parts of the shaft from coming loose), they must be intact.
It is desirable that a handgrip be with an intact non-slip patch piece. This detail is small, but its absence (or damage) reduces the overall level of comfortable search.
Tips. If you are a beginner buying a pre-owned metal detector and the seller is standing in front of you – ask him to show all these points himself, directly down this list.
Good luck to everybody in search!
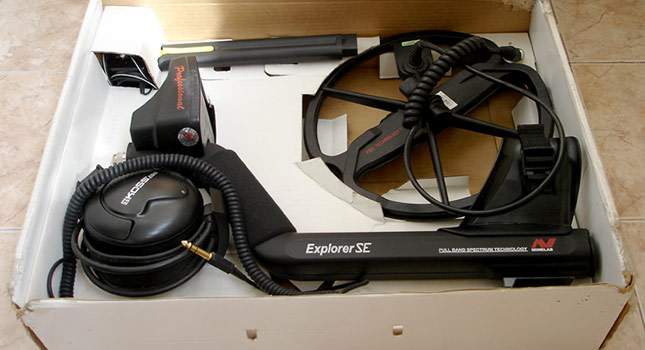
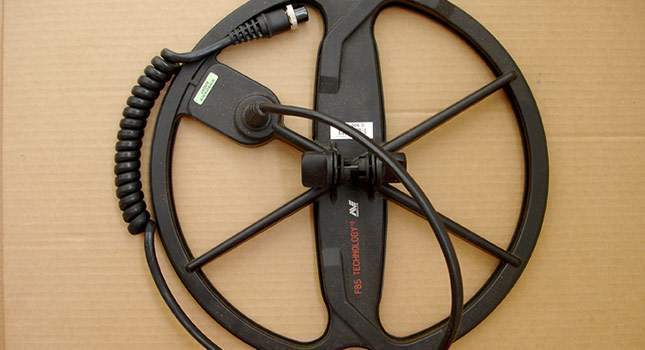
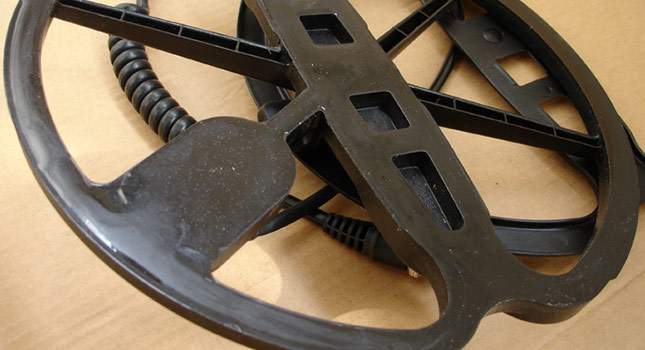
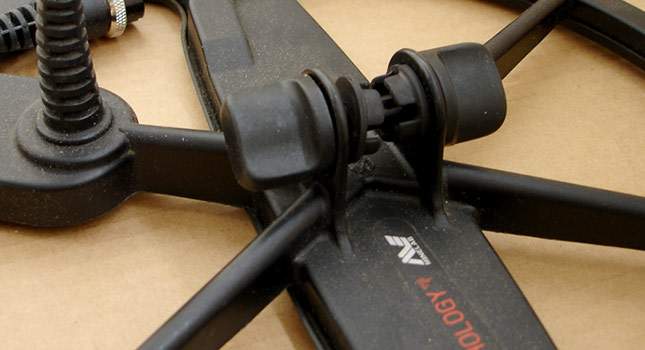
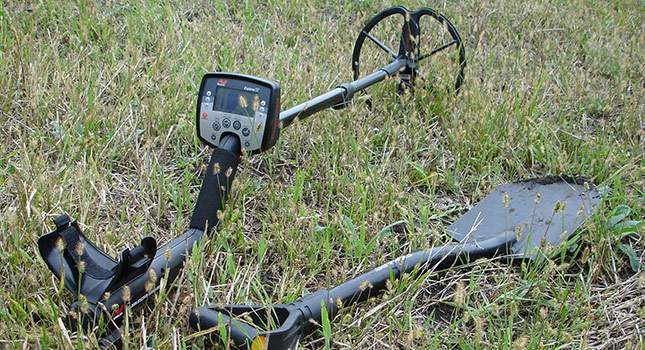
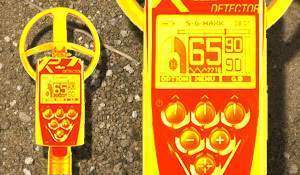
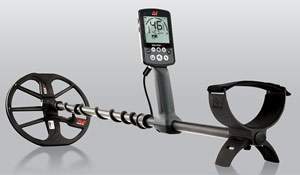


Here is an example of how I helped my friend to buy a pre-owned Minelab X-Terra 705 metal detector. We met with the seller personally and had about 15-20 minutes to check everything leisurely.
We opened the box. The metal detector was laid out exactly like a new one. It’s a good sign, the owner hadn’t neglected to pack the detector. At that, the machine was clean and it is even more important than the package. In roughly half the instances a pre-owned metal detector is sold being dirty and in bulk w/o package.
First we got a coil. A great surprise, a 10.5 DD coil was in perfect condition. There was a hesitation that the coil wasn’t native to that detector (bought separately). But I understood it was unprofitable to buy a new coil for a previously used detector in order to sell it then; it would be easier to sell the metal detector without a coil. Besides, the owner of the unit explained that he hadn’t used the native coil and had put one of other manufacturer right after purchase. There wasn’t that coil supplied as his mate, who also had the X-Terra 705, had taken it separately.
Although the coil looked perfectly, we checked its surface (under the cover) attentively and examined the ears, cable and connector.
Further we checked a control box, also in good keep. The owner of the unit affirmed that he had been metal detecting only with the control box cover all the time. On being asked whether there was a cover, he replied that it had been presented to the same old mate. It’s a pity, when selling a detector one usually doesn’t ask for additional money instead of such accessories and gives them as a bonus. And it would have been really a pleasant plus.
Tip: check if there is the power supply. If I am going to check the detector I always take a set of batteries with me. But here is an important point whether the seller has left the batteries. If they are present, so the owner of the detector has assumed that the buyers will want to examine the detector while checking. And he is not afraid of this examination. If when selling the owner demonstrates a previously used machine which is impossible to turn on and check, for me it is a reason to take a closer look at this detector (in any case, I’ll always take my own set of batteries with me).
In our case there was a power supply. Tip: connect the control box and the coil, with no shaft, and simply watch the cable near the coil to be motionless (if it trembles, there will be false responses).
Turn on and proceed to the All Metal mode, 26-27 sensitivity, bring any target. It is immediately obvious that on the whole the detector is operating somehow: the information is displayed on the screen, there is connection with the coil and the device’s response is adequate. If the target contains a homogeneous metal (I tested a copper coin taken with me), the response must also be steady. The VDI number, even if being changed, is limited within a few values. The audio response is constant (not disappearing).
I test the sufficient depth. There exists one of the different kinds of detectors’ breakage: at first sight the machine is operating somehow, but its detection depth is very little. For example, an average copper coin can be detected at maximum depth of 3-4cm. These are the problems with a coil. A quick test must show the ability to detect an average coin at the depth of more than 20 centimeters. That’s enough to eliminate this fault.
Switch on any discrimination mask (in our case it only eliminated the iron) and test by bringing 2 types of targets. Our first one was my copper coin. As a second target we used a metal bolt. As it should have been: there was a response to the coin and a silence to the bolt. Pay attention, if your iron target is large, includes different types of metals or has oxidation, in some cases it will also receive a response. You should always take it into consideration and choose a small, and really iron, target.
Next I pressed all the buttons checking the response to them, examined the backlight and looked into the battery compartment. Tip: I keep an eye on the detector’s display all the time, the screen should be clean, contrasting and with symbols displayed properly. If the screen flickers, it is a potential problem.
Getting the shafts. First we look at the upper piece, the shaft’s problems more often occur with an armrest. It must be intact. Any repair of the armrest is either a temporary solution or it looks at least not nice (for example, the armrest made of plastic water-pipe).
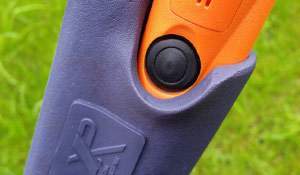
Look through other shaft’s pieces. Be sure the spring loaded pins are operating, as well as the twistlocks are intact and in position. A bit attention to the place of attaching the coil to the metal detector lower shaft – it simply must be intact. Check availability of the coil’s rubber washers. Some manufacturers ignore these washers and don’t complete their metal detectors with them (for example, some Fisher and Teknetics models). But the Minelab has these ones and they are needed.
That’s all! It took no more than 15 minutes (at an easy pace). The metal detector was in perfect tune and there was no reason to ask the seller for an additional price reduction. We shook hands and it became one treasure hunter more in the world.