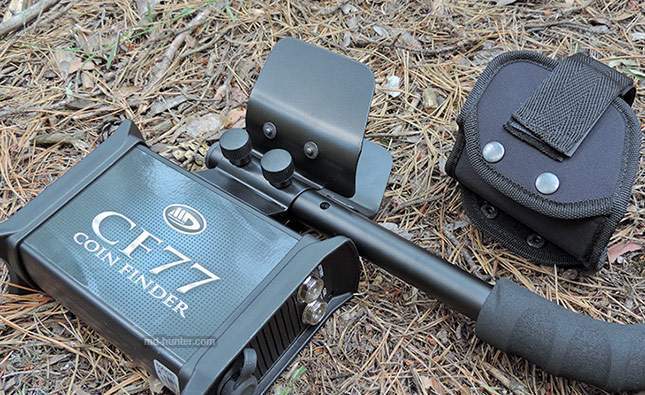
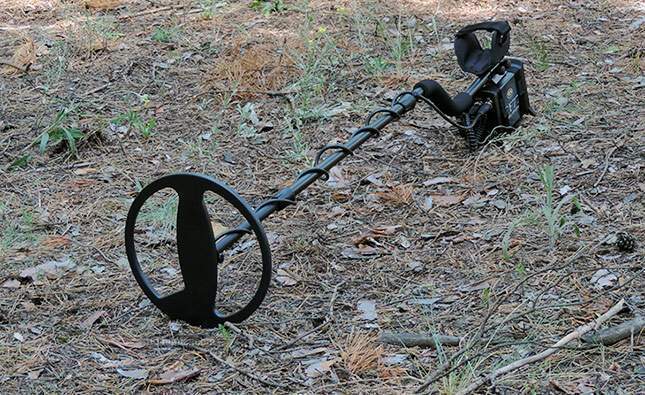
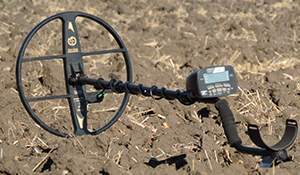
I’ve tried the Makro CF77 in practice and formed my first impression. See the photo report: Makro CF77 detector from Turkey and its metal armrest.
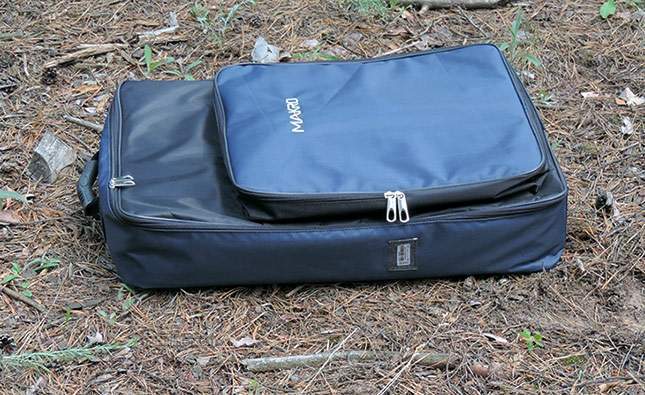
I’ve already written the carrying bag supplied with the Makro CF77 PRO is super functional. And looks like a usual urban bag at that. In addition, it’s made of washable material (synthetic). All dust from that hunt was easily washed off.
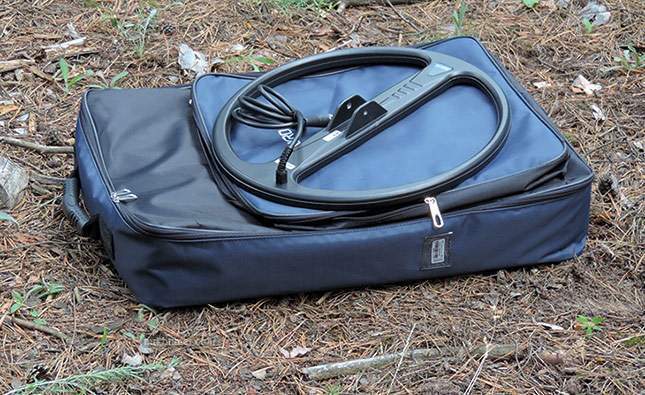
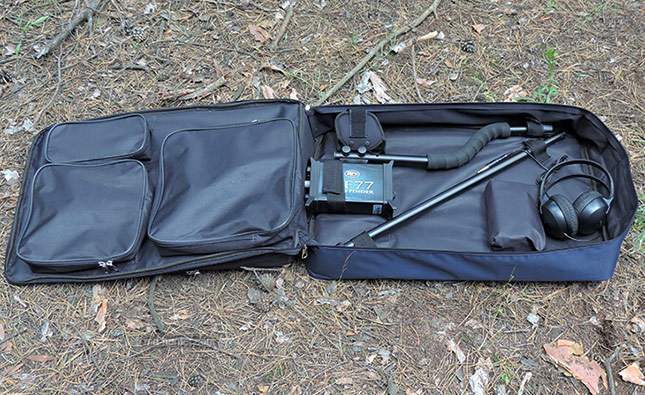
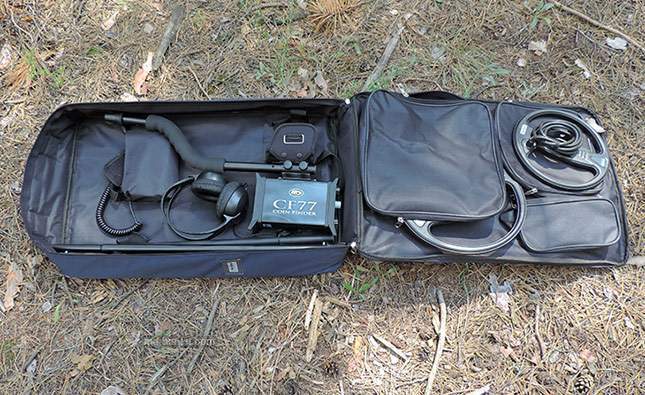
And, above all, the whole PRO package (a metal detector and 3 coils) fits completely in this bag. The coils are in separate partitions, the detector inside is fixed. There is even an available space left. Excellent bag!
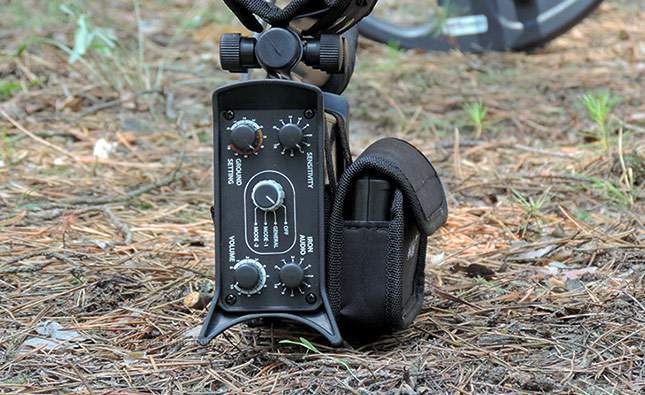
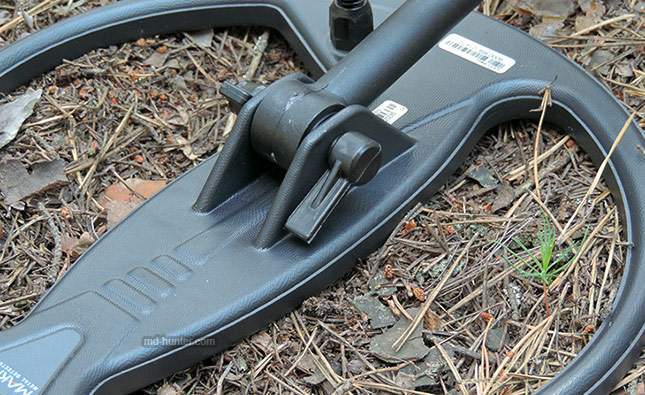
The first thing that has interested me: what kind of armrest? So it is – made of metal. Looks like aluminum (lightweight). It’s a pity the one is attached to the control box; it would be a good thing to fit this armrest to other machines… I need to have a look at its attachment, perhaps the lower box can be detached.

And that’s just where the particularity of control box bottom position has become apparent. My fellow digger was assembling the Makro CF77 (whereas I was trying the Makro Racer)…
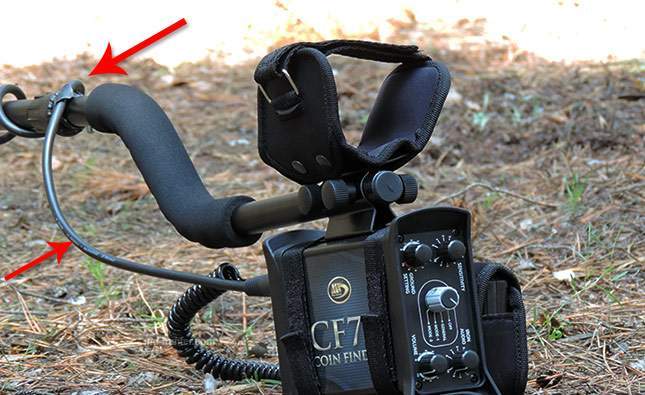
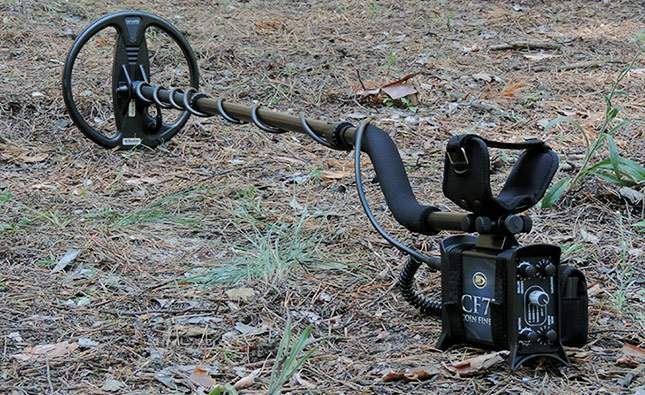
Maybe I’m wrong (I didn’t read the manuals), but it seems to me that the cable lying right up close to the handgrip will hinder holding the detector. While sweeping, the cable will be sliding under the glove and the grasp on the grip isn’t whole-handed. In my opinion, the cable should be tied atop in such a way that a free loop is left allowing the hand to pass freely (like a sword hilt with guard).
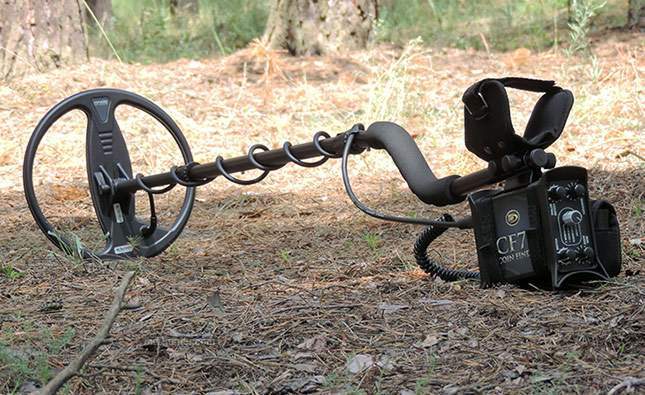
In almost all of advertising photos, the Makro CF77 cable runs along the handgrip – as assembled by my friend. But it’s not right, is it? Correct me if I am wrong.
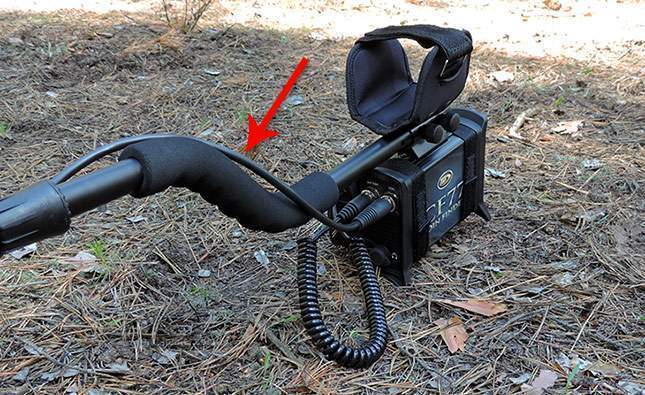
For myself, I made a loop by using the cable tie. And my friend tried that way – with the cable along the handgrip.
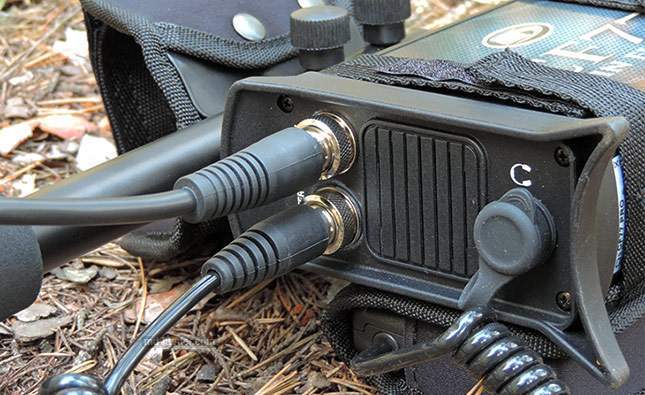
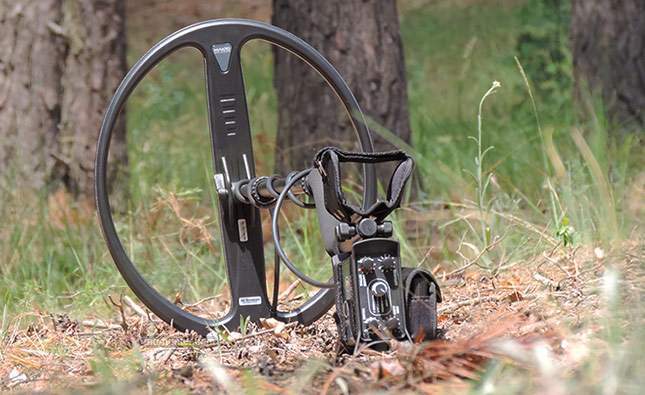
The battery box attached to the control one. To unload the detector, it can be fastened to a belt. We also tried attaching it to the backpack (more convenient).
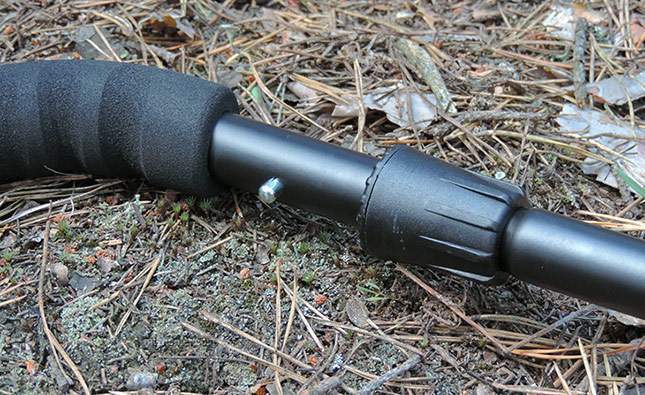
The shafts, spring clip and twist lock fixed. No pretensions, everything stands as it should. But, in my view, the Makro Racer shaft is better made (definitely another one, although they are compatible with each other).
An interesting L-shaped bolt. Pay attention, how thick the pitch of thread is. You won’t suddenly strip such a thread. There are also rubber washers to be used with the coil ears (say hello to Fisher, they still don’t provide the F75 with such washers).
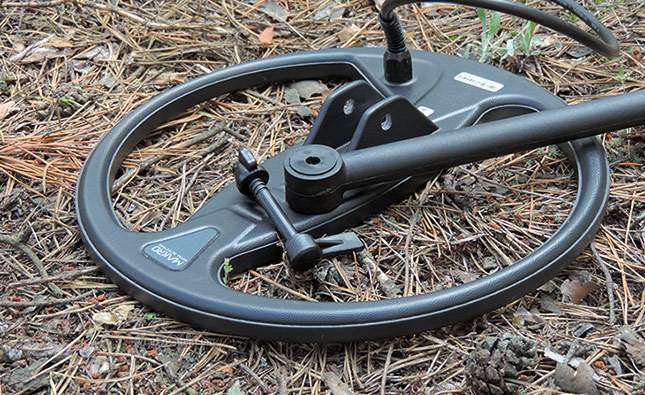
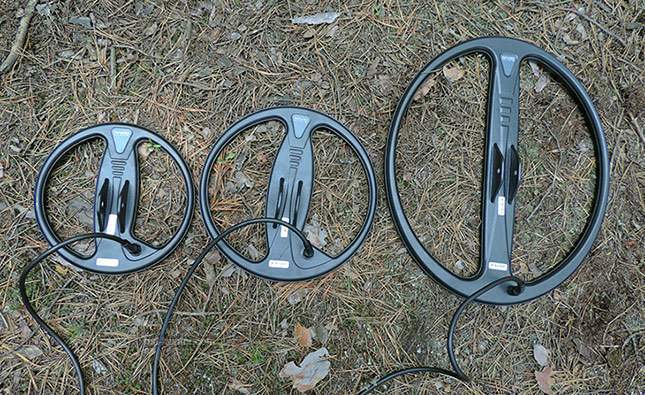
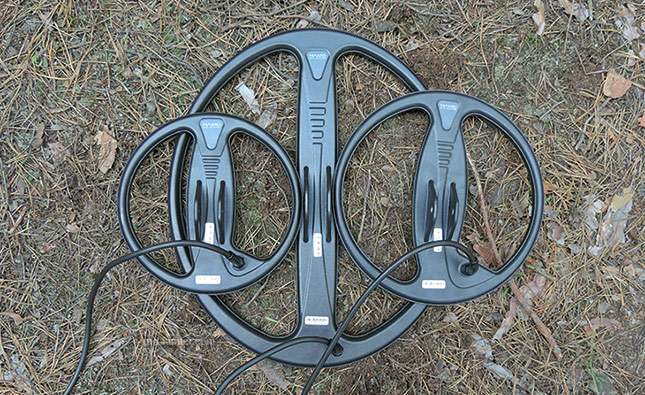
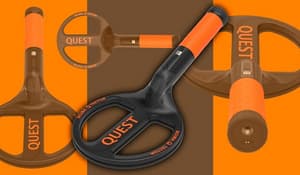
Three coils from the Makro CF77 package: 9-inch DD (Makro C23), 11-inch DD (Makro C28) and 17.7-inch DD (Makro C45) ones.
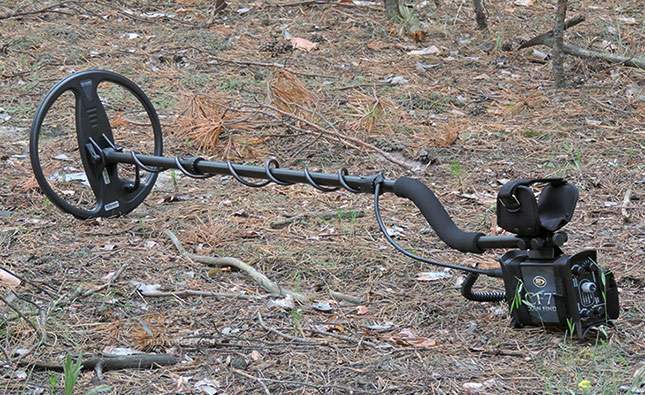
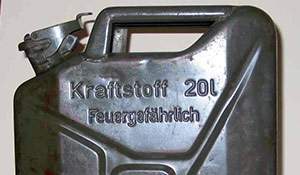
I tried, however, to dig out several deep holes when using the large coil. I felt as if I were walking with a deep seeking machine. One of the holes was more than 80 centimeters deep (an army helmet 1941-1945).
All about the Makro CF77 is collected here (news, tests, comparisons with other devices, different reviews and opinions). Plus, on Knowledgebase pages there is additional information you should know before buying the Makro CF77. The experience of others will help you save your time and money. Happy hunting to everyone!


i wish i could have this thing,and how much is it?
on peut d?tecter sur la plage
When will the cf77 be available on Amazon thank you